Utilizing the Toolbar
Utilizing the Toolbar
Quick Access Toolbar

At the top of the UXsheets window, you will find the quick access toolbar. On the left side of this toolbar are the following actions in order of appearance from left to right:
Back - Returns the browser to the previous page.
Save - Save your templates often.
Open File - Opens a dialog to create a new template], load a previously made template, or delete an existing template.
Export to Excel - Easily download your template as an Excel file (.xlsx)
Refresh Data - Update all of the mapped data in the spreadsheet from service now. Please note that refresh will destroy any changes you may have made to mapped data.
Some of the actions may not be available. Centered in this toolbar you will find the name of the UXsheets file that is currently open. on the far right of the quick access toolbar is the help button that will open this help dialog.
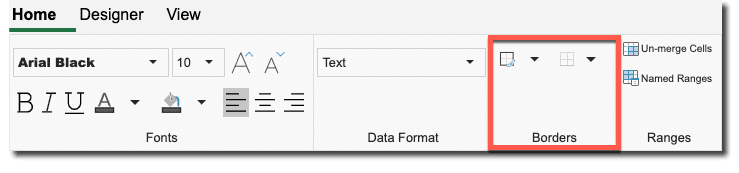
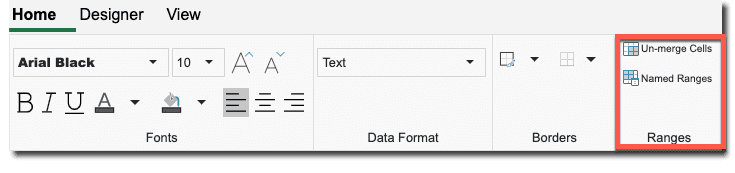
Home
Fonts
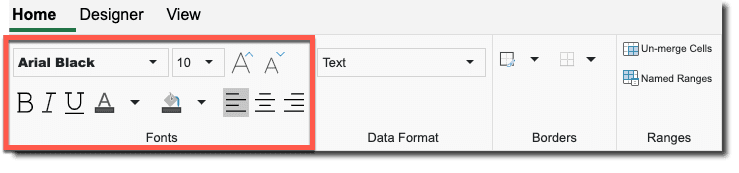
The font section allows customization of font style, font size, emphasis, font color, and background color for each cell.
When changing the background color of a mapped table, the color is changed on a per column basis so changing the background color of one cell in a table will cause the background-color of the entire table column containing the cell to change.
Data Format
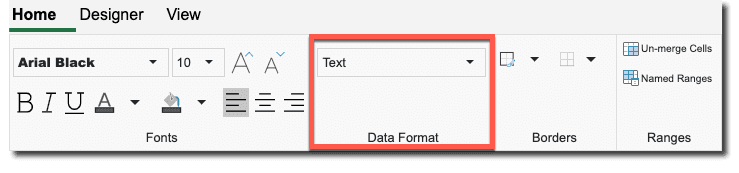
Format allows the user to apply a format to the data in a cell, align text, and merge and unmerge cells.
UXSheets identifies the type of data entered into a cell and formats it accordingly.
Three different format types exist in UXSheets: Text, Number, and Date.
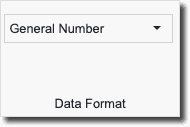
To identify the format type of the data entered, view the format type area at the bottom right of the window.

Each format type has multiple options unique to that format for how it is formatted. For example, a number can be formatted as currency, a percentage, a scientific number, etc. However, a number can not be formatted as Text or one of the Date format options.
Some number formats, like integer, provide an additional drop-down menu for customizing the amount of zeros displayed in the number.
Mapped cells will have limited format options so the data formats will always be compatible with ServiceNow.
To ensure the stability of formulas, the format of a cell will prevent the user from entering data of a different format into it.
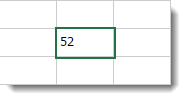
For example, a cell containing a number like the image below will format to a General Number. If the user selects the cell and attempts to type text into it, upon deselection the cell will reject the data and revert back to the number. In order to change the data in the cell the format must be removed by selecting the cell and pressing the Delete or Backspace key.
- When any date format is applied to a non-mapped cell extra options are available:
| Option | Description |
|---|---|
| MM/dd/yyyy | Month Day Year order separated by "/" when applicable |
| dd/MM/yyyy | Day Month Year order separated by "/" when applicable |
| dd-MM-yyyy | Day Month Year order separated by "-" when applicable |
| dd.MM.yyyy | Day Month Year order separated by "." when applicable |
| yyyy-MM-dd | Year Month Day order separated by "-" when applicable |
| MM dd | Month followed by Day |
| dd MM | Day followed by Month |
| MM yyyy | Month followed by Year |
| yyyy MM | Year followed by Month |
Designer

The designer section of the toolbar provides tools for administrators to design and manage a spreadsheet.
Properties
- This button opens the dialog that allows the configuration of the UXsheet.
- See the sheet properties section for more information.
Sheet Summary
- Opens a window with a summary of all of the mappings in the template.
Table Mapping
- This button opens the dialog that handles table mappings.
- See the mapping section for more information.
Protection
- Use the Protected toggle to view the protected areas of the spreadsheet.
- Areas that are protected will appear grey.
- Select Toggle Protection View to simulate the experience the end-user will have using the spreadsheet.
- This mode shows protected cells in grey but also enforces the protection.
- Use Unprotect and Protect to easily edit the protection of the sheet. These options will appear next to the toggle button or in the menu that appears when a cell is right clicked.
- Protection on a table protects or unprotects an entire column at a time.
- All columns in a table can be unprotected or protected at once by right clicking any cell in the table and selecting the Unprotect Table or Protect Table options respectively.
- If an area is unprotected, protecting one cell in that area will remove the unprotect from the entire area.
- To exit the mode select the Toggle Protection View button.
Application
When In application designer mode, there will be an additional section under the designer tab called application.

Publish opens a dialog that allows users to put an application they have designed on one of their organization's repositories. From there, an administrator can retrieve the application and create it on a development instance using this same dialog.
Export will download a file containing the application definition. This can be used in place of a repository to move application definitions from one instance to another. These files can be imported using the open file dialog clicking on the Applications tab and selecting import.
Copy and Save this action will only be available when viewing an application from a repository. When clicked, this action will save a copy of the application definition to the local instance where it can be edited and published.
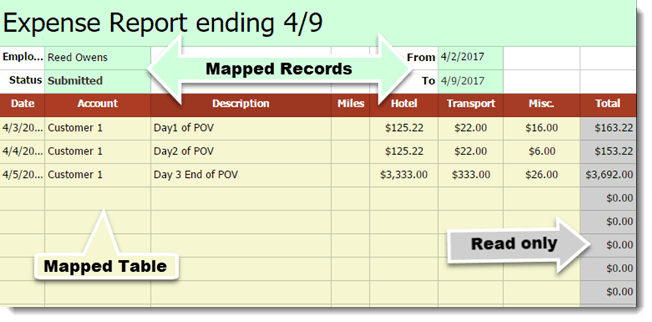
View
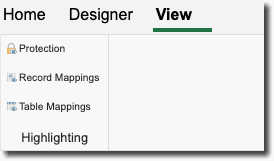
View highlights certain areas of the spreadsheet to show if an area is mapped to a table, mapped to a record, or read-only. Each button under the View section can be toggled on or off.
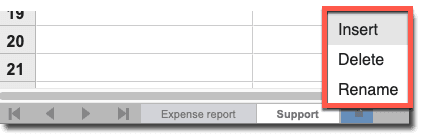
Managing Sheets
The bottom of the spreadsheet contains a listing of all the sheets contained in the current spreadsheet. These sheets can be navigated using the arrows or by clicking on the sheet you wish to view. A new sheet can be added by clicking the blue icon.

Right any sheet tab will pop open a menu with the option to insert, delete or rename and sheet.