Creating a New Template
Select Open File from the quick access toolbar
Select the Template tab
Click New
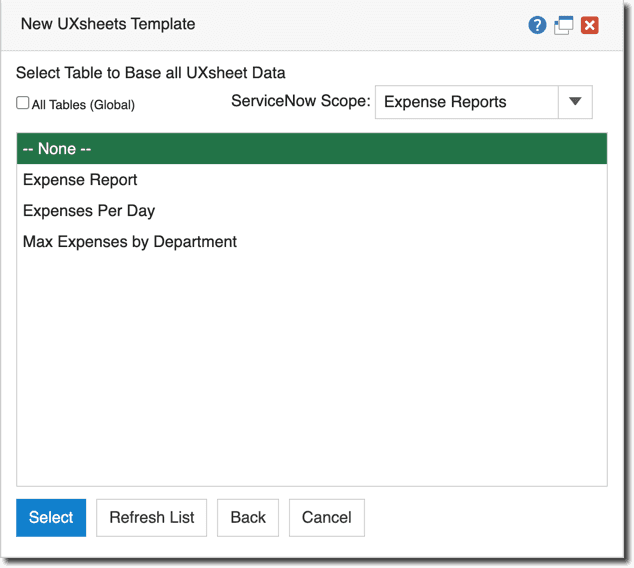
Select a scope for the template from the ServiceNow Scope drop-down or check the All Tables option to use the template in the global application.
Select the table the template will use. A record from this table can be selected to generate an instance of the template in data mode. If none is selected be a stand-alone spreadsheet will be created and it not contain any record mappings, only table mappings.
Add a Template Name. At this point, the Create button will become available.
a Short Description and Template Description can be added to help identify and describe the template.
UXSheets offers unique compatibility with Excel spreadsheets.
To import a spreadsheet drag and drop the .xlsx file into the upload region shown below or click the region and navigate to the .xlsx file.
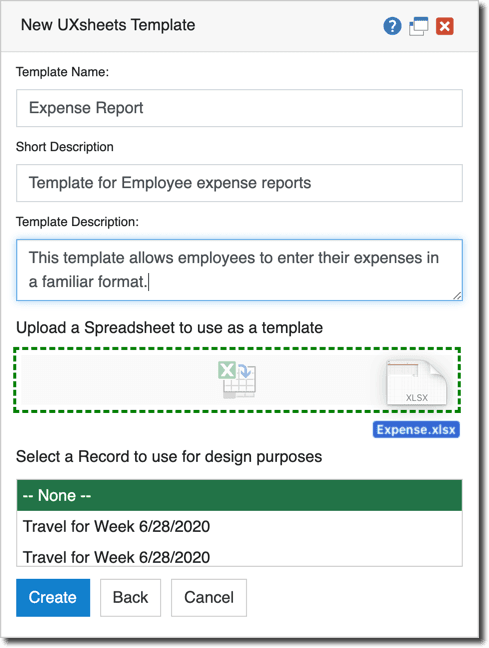
A test record can be selected that will populate the spreadsheet with data as it is designed. This feature gives a better idea of what the spreadsheet will look like with data in it and how cell data should be formatted. This feature will be unavailable when creating a stand-alone spreadsheet (ie. no table was selected in the previous dialog window).
Templates will not appear on forms until a UI Formatter is added. Read the Administrative section for more details.
Import Support Notes
- Currently UXSheets does not hidden borders. Please set border colors to white to make them hidden.
- Visual Basic for Applications is not supported.
- If you are having problems importing a .xlsx file it's likely it contains an unsupported feature.